How to fit a wheel to a Wheeliams Wheel Carrier.

Fitting a wheel to a Wheeliams Wheel Carrier is really easy!
First you need to know that the Wheel Plate that comes with your wheel carrier has a set of holes that will match the holes in your wheel rim. Some Wheel Plates have several sets of holes to accommodate different wheel rims. The Wheel Carrier instructions will tell you which holes match your wheel but you can easily check by placing your wheel over the Wheel Plate to see which holes line up. These holes are all threaded (thread size M14x1.5) to match generally available wheel bolts. We don't include the wheel bolts in the Wheel Carrier Kit as this allows you to chose which bolts you want to use. Wheeliams do however sell a separate of Locking Wheel Bolts to keep your wheel securely and firmly attached to the Wheel Carrier. You can find these bolts on our store HERE.
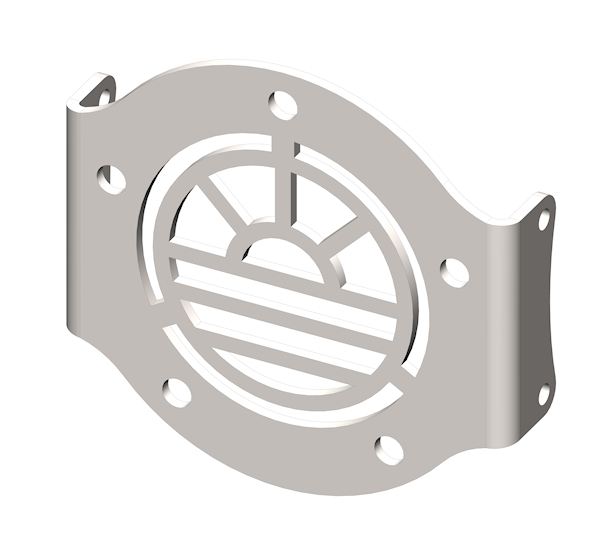
Wheel Plates come in different shapes and sizes depending on the vehicle but this is a typical Wheel Plate shape:
Once you have assembled your Wheel Carrier according to the instructions and have bought a set of wheel bolts, then you are ready to fit the wheel onto the carrier. The process is as follows:
- We recommend fitting one wheel bolt facing forward from the back of the Wheel Carrier usually at, or near, the top. This allows you to hang the wheel on that bolt while inserting the other wheel bolts. This saves struggling to hold the wheel in place while inserting the bolts.
- Place the wheel over the protruding bolt and steady it with one hand. Please note that wheels can be heavy, especially all-terrain wheels, so do ensure that you can lift the wheel and keep it in place safely. If in doubt, get someone else to help lift and steady the wheel.
- With the wheel safely supported, fit the wheel bolts in the other hole positions. If you don’t have enough bolts for all the positions then always fit bolts in the highest positions first. We always recommend a minimum of three bolts, in addition to the fourth supporting bolt that was fitted first.
- Fully tighten the wheel bolts, then, after your first journey with the wheel fitted, check all fixings to ensure that they are tight. After that, once every month and before & after long or aggressive journeys check all fixings to ensure that all are tight.
The animation below shows how the sequence works:


